OpenTracing is an open distributed tracing standard for applications and OSS packages. Many tracing backend services support OpenTracing APIs, such as Jaeger, Zipkin and SkyWalking.
This blog guides you through every step of how to trace Pulsar messages by Jaeger through OpenTracing API.
Prerequisite
Before getting started, make sure you have installed JDK 8, Maven 3, and Pulsar (cluster or standalone). If you do not have an available Pulsar, follow the instructions to install one.
Step 1: start a Jaeger backend
- Start a Jaeger backend in Docker.
docker run -d -p 6831:6831/udp -p 16686:16686 jaegertracing/all-in-one:latest
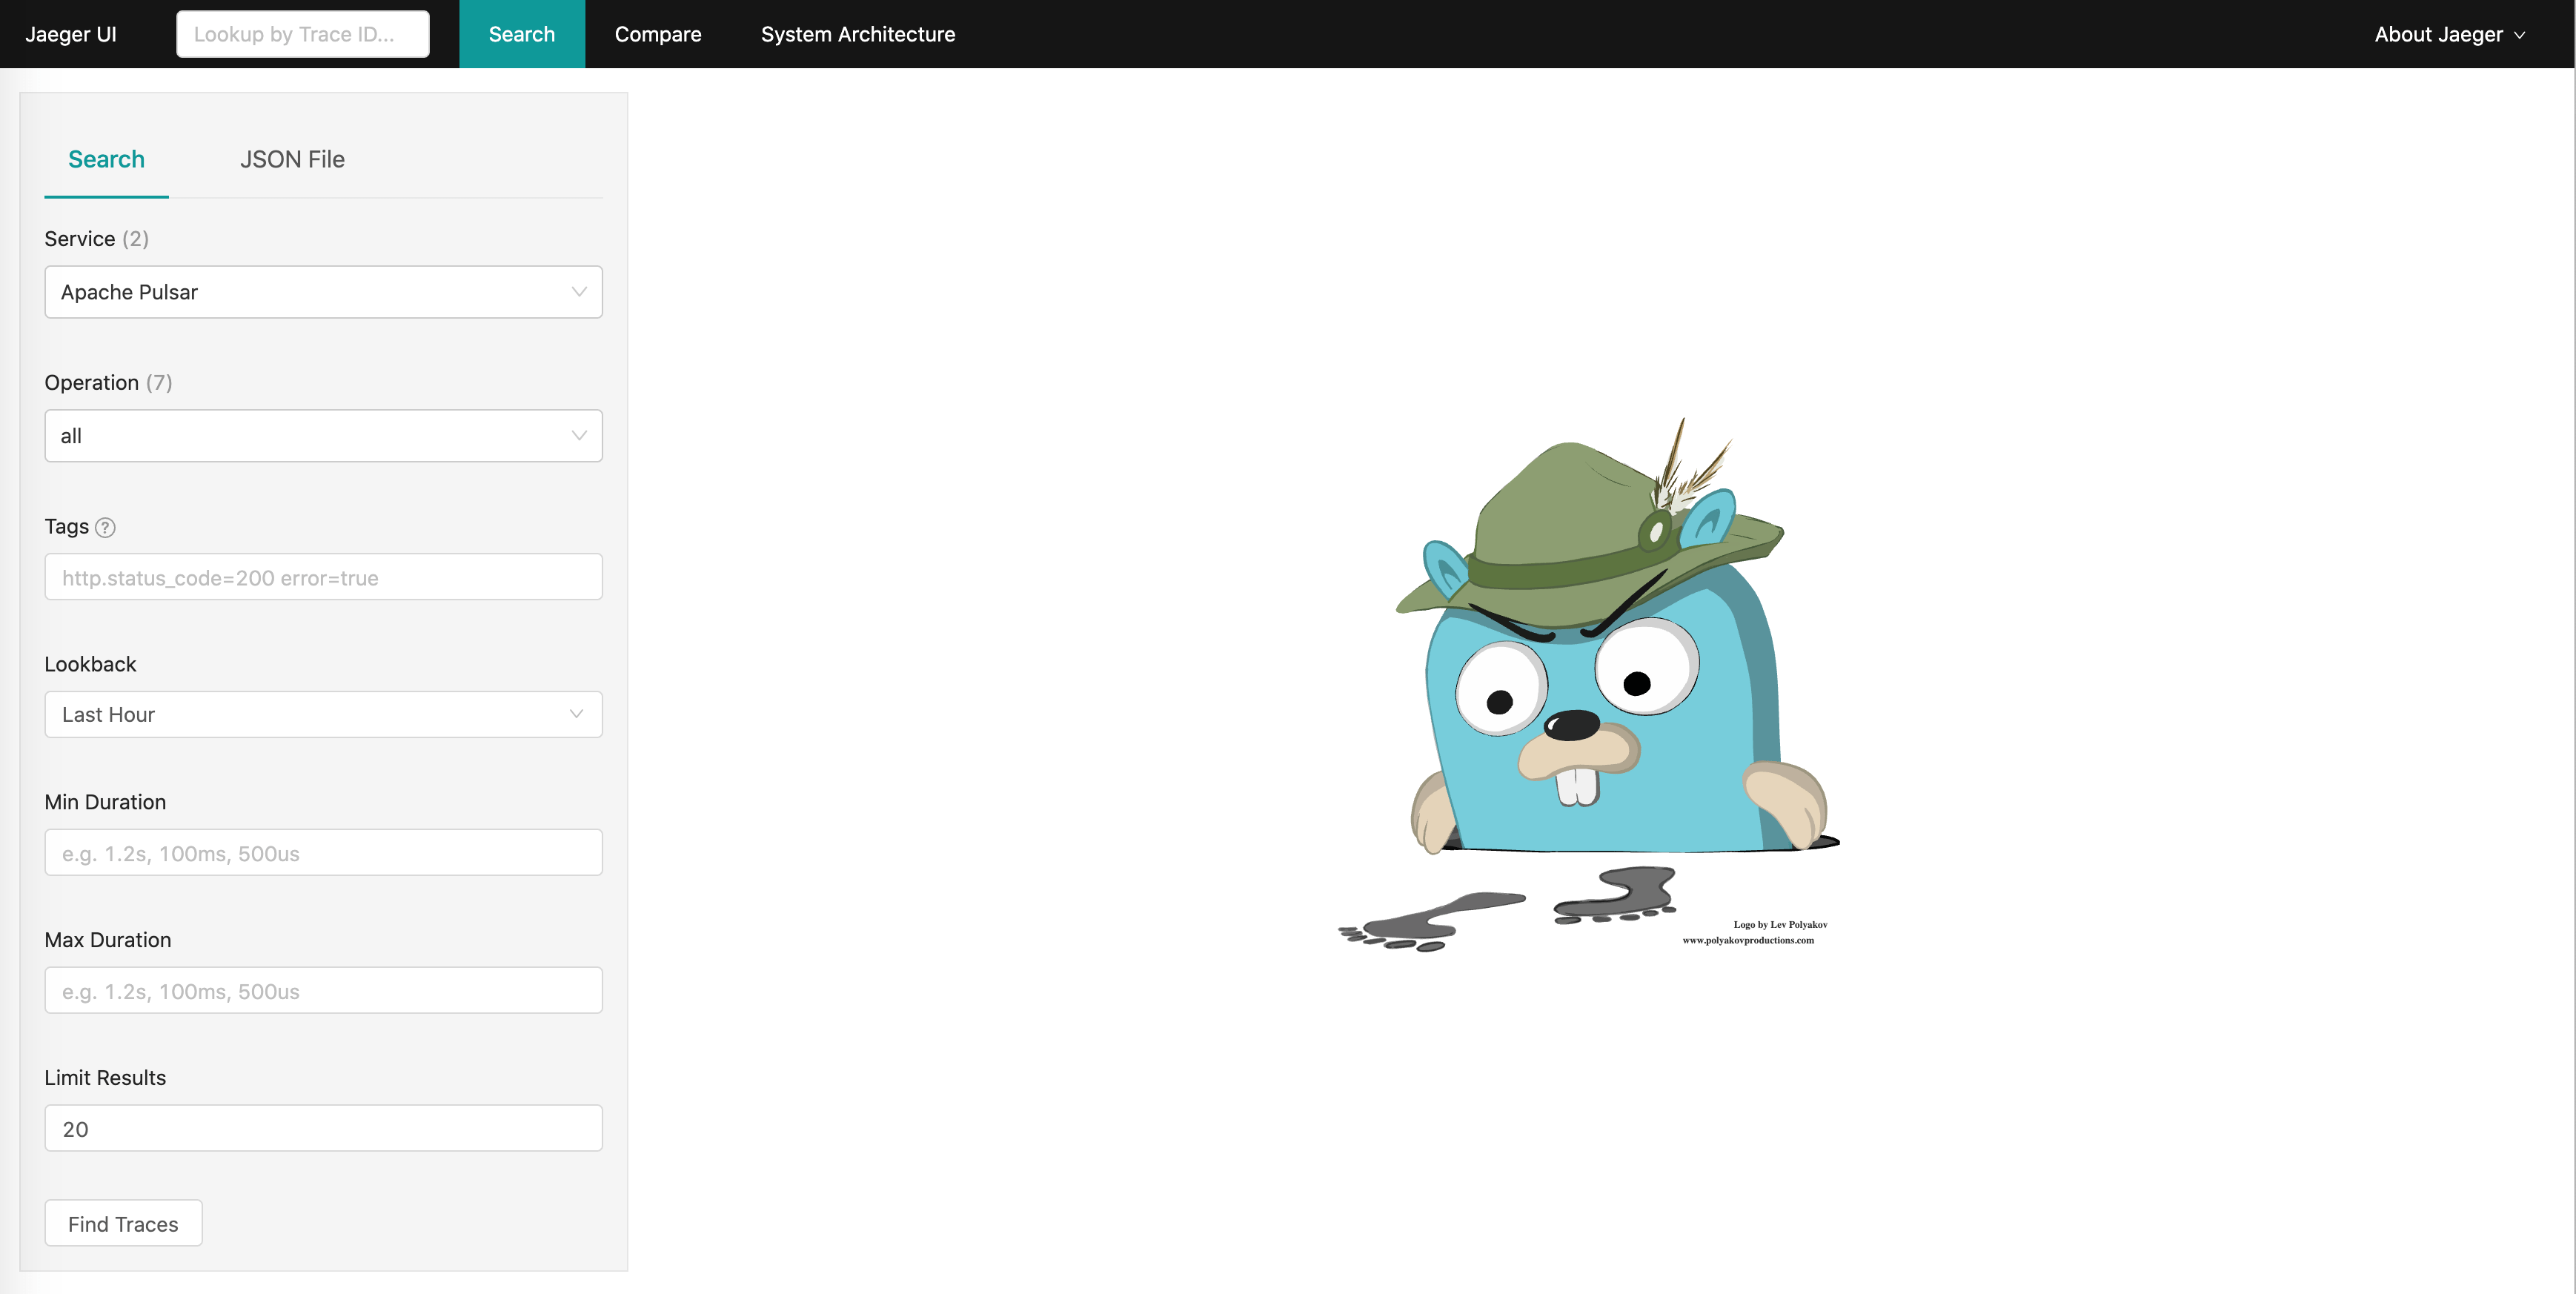
If you have successfully started Jaeger, you can open the Jaeger UI website successfully.
Tip : If you do not have a Jager Docker environment, you can download the binaries or build from source.
- Visit http://localhost:16686 to open the Jaeger UI website without a username or password.
Step 2: add maven dependencies
This step uses OpenTracing Pulsar Client, which is integrated with the Pulsar Client and OpenTracing APIs based on Pulsar Client Interceptors, to trace Pulsar messages. Developed by StreamNative, the OpenTracing Pulsar Client acts as a monitoring tool in the StreamNative Hub.
Add Jaeger client dependency to connect to Jaeger backend.
 org.apache.pulsar
 pulsar-client
 2.5.1

 io.streamnative
 opentracing-pulsar-client
 0.1.0

  io.jaegertracing
  jaeger-client
  1.2.0
Step 3: use OpenTracing Pulsar Client
For easier understanding, this blog takes a usage scenario as an example. Suppose that you have three jobs and two topics. Job-1 publishes messages to the topic-A and Job-2 consumes messages from the topic-A. When Job-2 receives a message from topic-A, Job-2 sends a message to the topic-B, and then Job-3 consumes messages from topic-B. So there are two topics, two producers and two consumers in this scenario.
According to the scenario described previously, you need to start three applications to finish this job.
- Job-1: publish messages to topic-A
- Job-2: consume messages from topic-A and publish messages to topic-B
- Job-3: consume messages from topic-B
Job-1
This example shows how to publish messages to topic-A in Java.
Configuration.SamplerConfiguration samplerConfig = Configuration.SamplerConfiguration.fromEnv().withType("const").withParam(1);
Configuration.ReporterConfiguration reporterConfig = Configuration.ReporterConfiguration.fromEnv().withLogSpans(true);
Configuration configuration = new Configuration("Job-1").withSampler(samplerConfig).withReporter(reporterConfig);

Tracer tracer = configuration.getTracer();
GlobalTracer.registerIfAbsent(tracer);

PulsarClient client = PulsarClient.builder()
        .serviceUrl("pulsar://localhost:6650")
        .build();

Producer producerA = client.newProducer(Schema.STRING)
        .topic("topic-A")
        .intercept(new TracingProducerInterceptor())
        .create();

for (int i = 0; i
### Job-2

This example shows how to consume messages from topic-A and publish messages to topic-B in Java.
Configuration.SamplerConfiguration samplerConfig = Configuration.SamplerConfiguration.fromEnv().withType("const").withParam(1); Configuration.ReporterConfiguration reporterConfig = Configuration.ReporterConfiguration.fromEnv().withLogSpans(true); Configuration configuration = new Configuration("Job-2").withSampler(samplerConfig).withReporter(reporterConfig);
Tracer tracer = configuration.getTracer(); GlobalTracer.registerIfAbsent(tracer);
PulsarClient client = PulsarClient.builder() .serviceUrl("pulsar://localhost:6650") .build();
Consumer consumer = client.newConsumer(Schema.STRING) .topic("topic-A") .subscriptionName("open-tracing") .subscriptionType(SubscriptionType.Shared) .intercept(new TracingConsumerInterceptor<>()) .subscribe();
Producer producerB = client.newProducer(Schema.STRING) .topic("topic-B") .intercept(new TracingProducerInterceptor()) .create();
while (true) { Message received = consumer.receive(); SpanContext context = TracingPulsarUtils.extractSpanContext(received, tracer); TypedMessageBuilder messageBuilder = producerB.newMessage(); messageBuilder.value(received.getValue() + " Pulsar and OpenTracing!"); // Inject parent span context tracer.inject(context, Format.Builtin.TEXT_MAP, new TypeMessageBuilderInjectAdapter(messageBuilder)); messageBuilder.send(); consumer.acknowledge(received); }
### Job-3

This example shows how to consume messages from topic-B in Java.
Configuration.SamplerConfiguration samplerConfig = Configuration.SamplerConfiguration.fromEnv().withType("const").withParam(1); Configuration.ReporterConfiguration reporterConfig = Configuration.ReporterConfiguration.fromEnv().withLogSpans(true); Configuration configuration = new Configuration("Job-3").withSampler(samplerConfig).withReporter(reporterConfig);
Tracer tracer = configuration.getTracer(); GlobalTracer.registerIfAbsent(tracer);
PulsarClient client = PulsarClient.builder() .serviceUrl("pulsar://localhost:6650") .build();
Consumer consumer = client.newConsumer(Schema.STRING) .topic("topic-B") .subscriptionName("open-tracing") .subscriptionType(SubscriptionType.Shared) .intercept(new TracingConsumerInterceptor<>()) .subscribe();
while (true) { Message received = consumer.receive(); System.out.println(received.getValue()); consumer.acknowledge(received); }
Now, you can run Job-3, Job-2 and Job-1 one by one. You can see the Job-3 receives logs in the console as below:
0 Hello Pulsar and OpenTracing! 1 Hello Pulsar and OpenTracing! ... 9 Hello Pulsar and OpenTracing!
Congratulations, your jobs work well. Now you can open the Jaeger UI again and there are ten traces in the Jaeger.
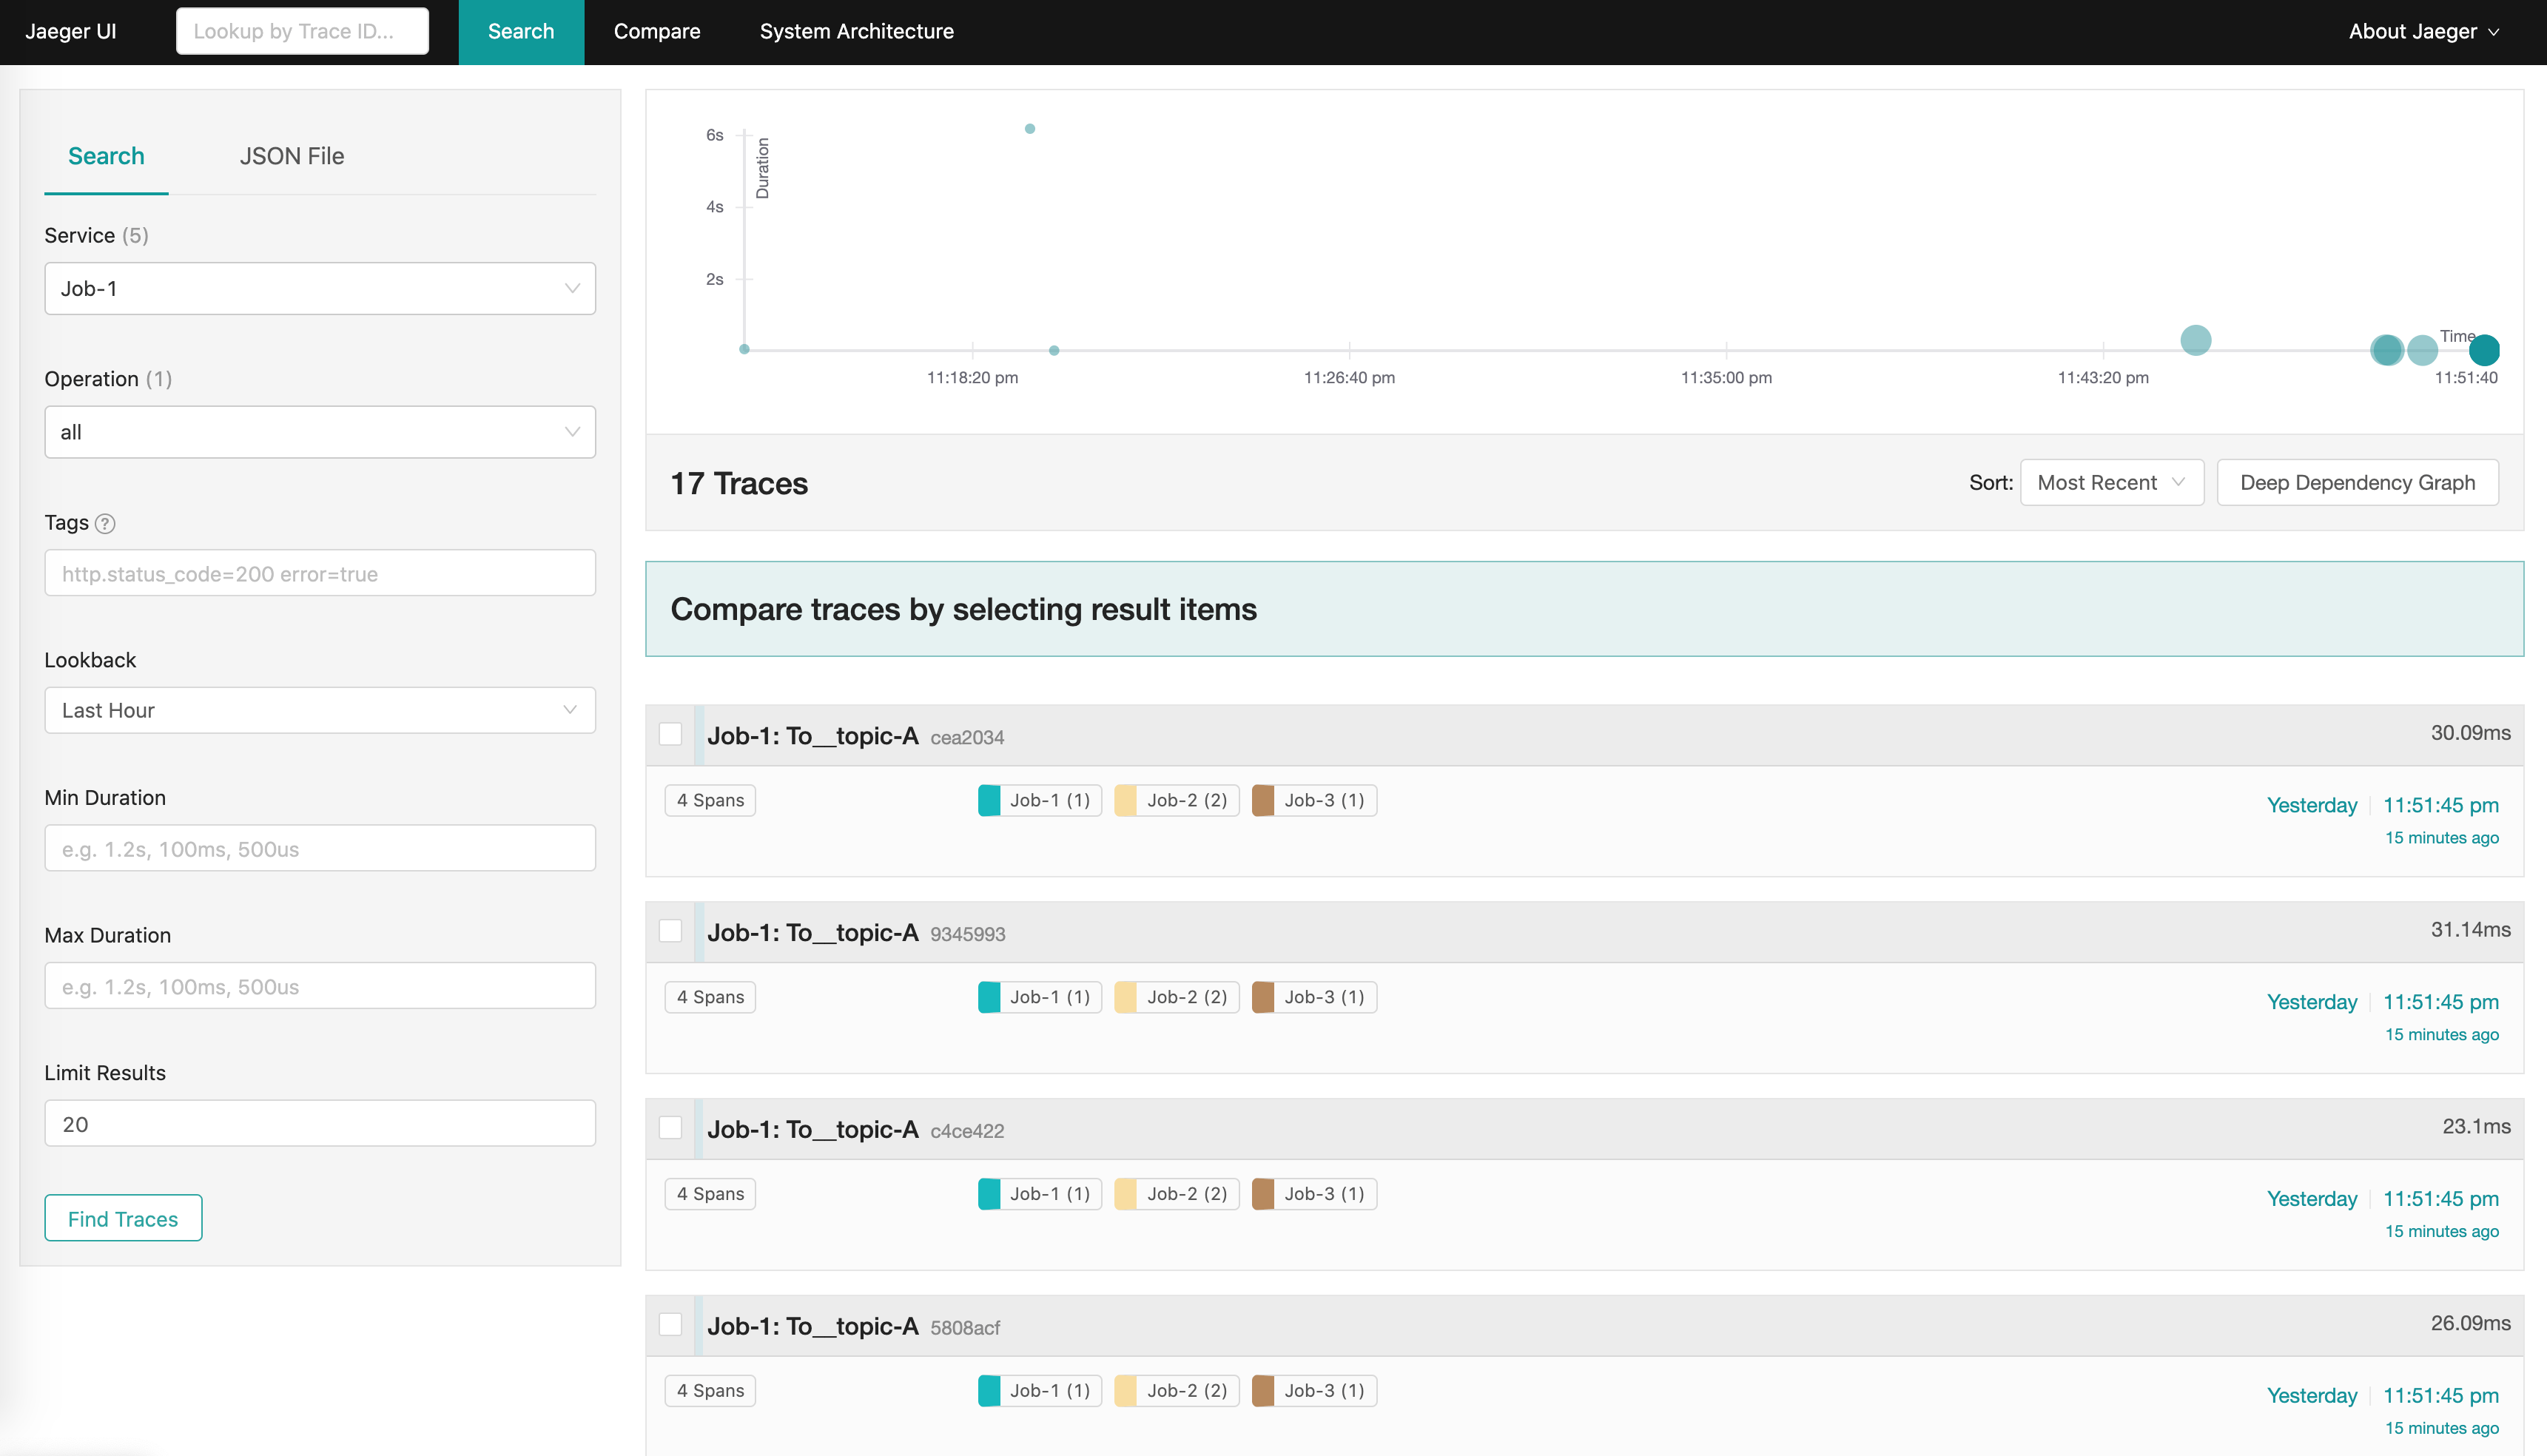
You can click a job name to view the details of a trace.
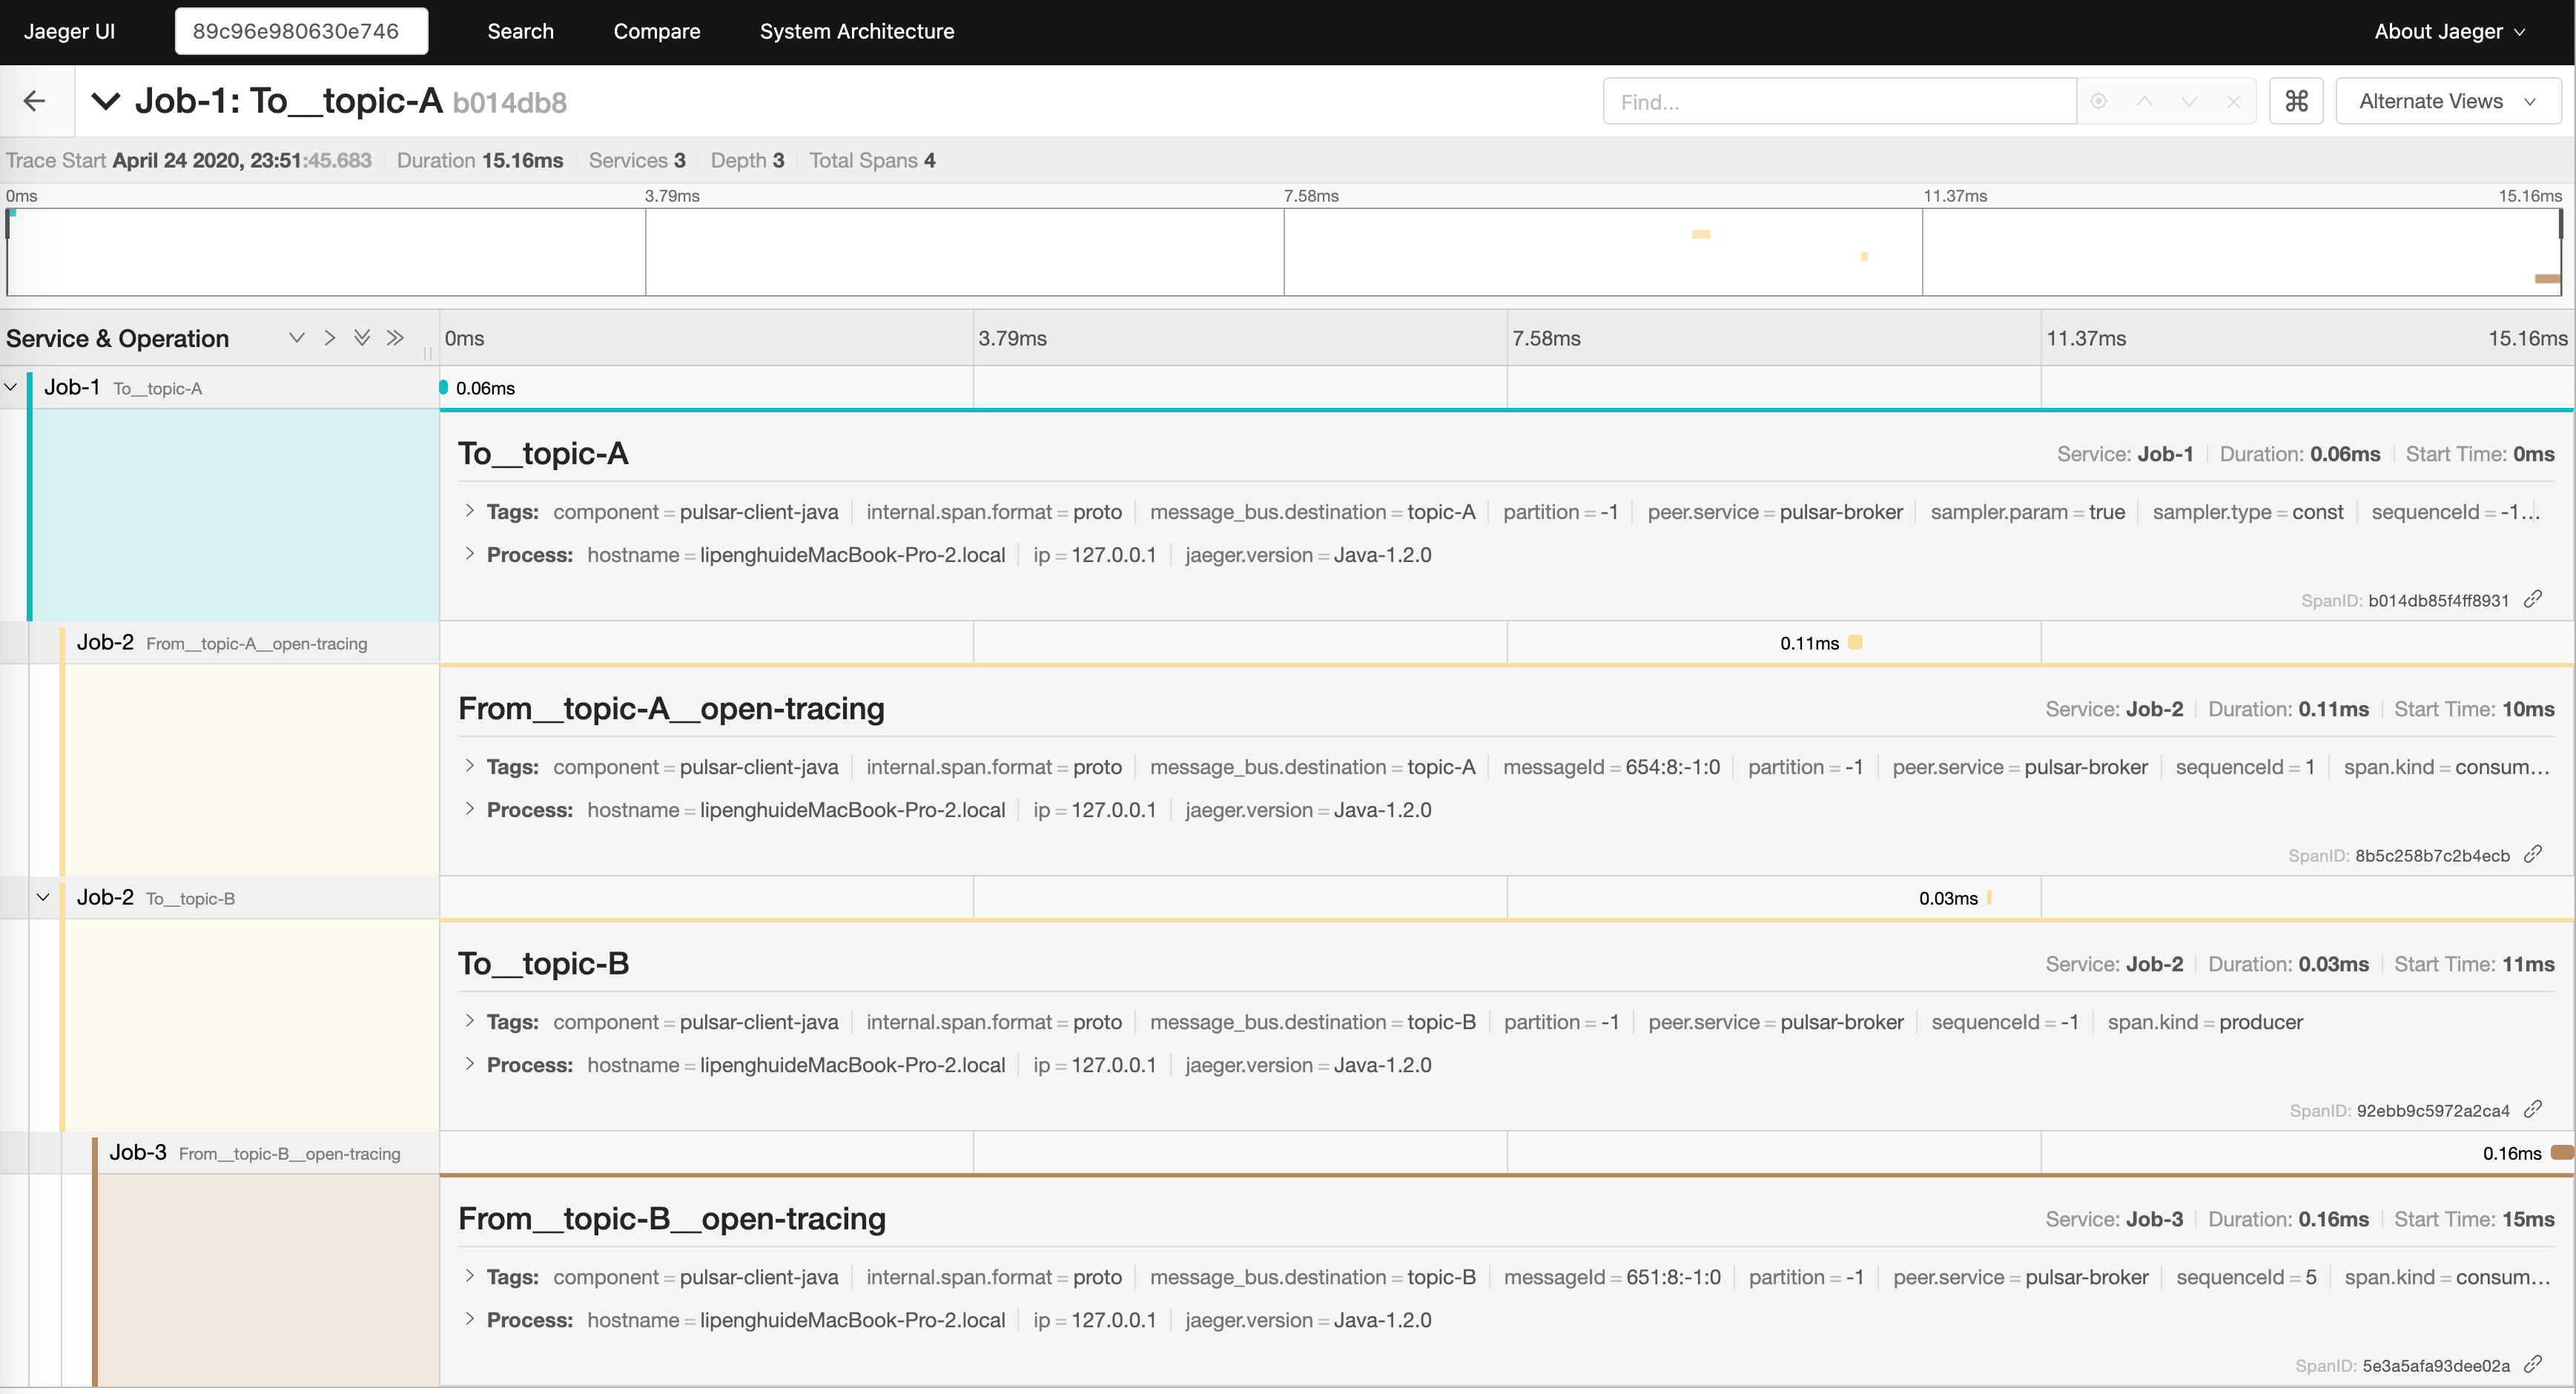
The span name is formatted as To__<topic-name> and From__<topic-name>__<subscription_name>, which makes it easy to tell whether it is a producer or a consumer.
## Summary
As you can see, [OpenTracing Pulsar Client](https://hub.streamnative.io/monitoring/opentracing-pulsar-client/0.1.0) integrates Pulsar client and OpenTracing to trace Pulsar messages easily. If you are using Pulsar and OpenTracing in your application, do not hesitate to try it out!
Additionally, I also wrote a tech blog for How to Use Apache SkyWalking to Trace Apache Pulsar Messages. For the complete content, see [here](/blog/tech/2019-10-10-use-apache-skywalking-to-trace-apache-pulsar/).